12 AI Prompts to Fix and Restore Old Photos
Copy-paste prompts to bring old and damaged photos back to life — colorize, repair scratches, sharpen, denoise and upscale. Type one into Editable and watch it happen.
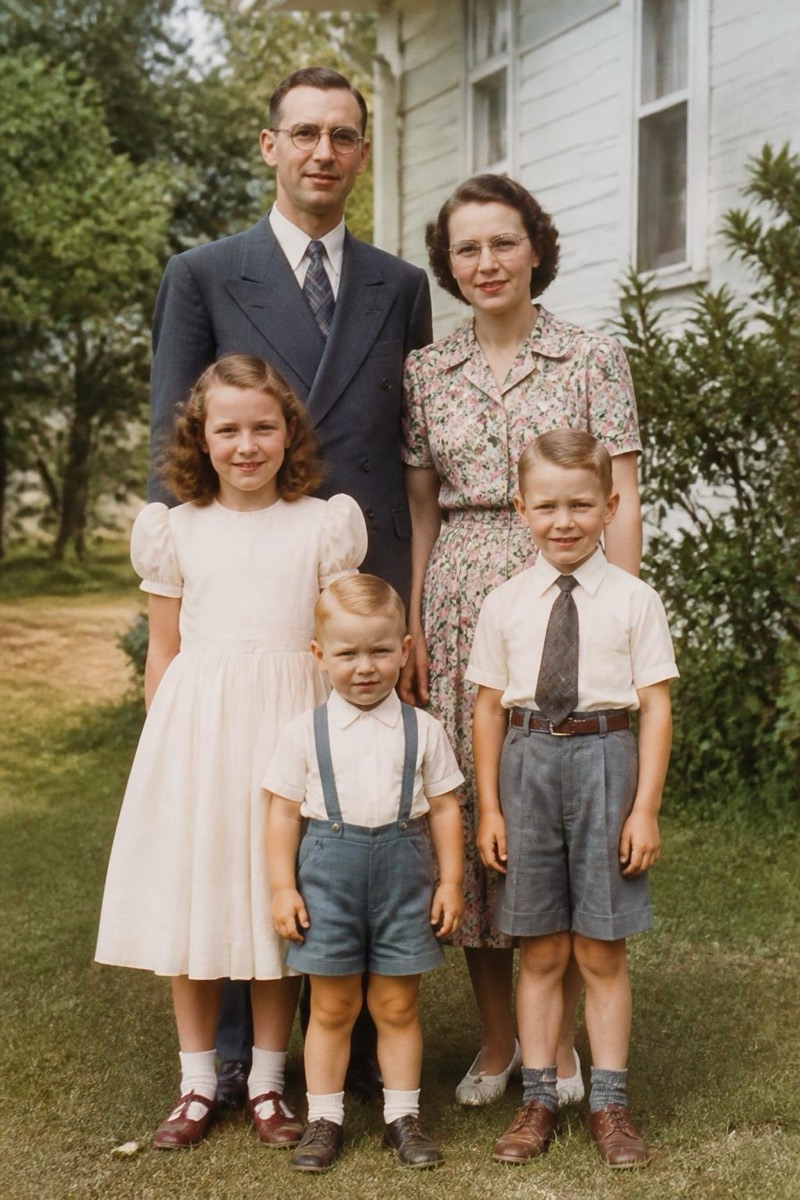
Old photos are the ones most worth saving and the ones that have taken the most damage: faded, scratched, grainy, stuck in grey. The good news is that most of it is fixable, and you don’t need special software — you describe what you want and the AI rebuilds it. Here are twelve prompts for bringing an old photo back, roughly in the order you’d use them.
Each is an example you type; reword freely. Prefer one tap? Every prompt links to a ready-made version.
Repair the damage
1. Fix scratches and tears
Repair the scratches, creases and tears on this old photo, keep the original detail.
The first step on any damaged print. Try it →
2. Remove stains and spots
Remove the stains, spots and marks across this photo and rebuild the surface cleanly.
Undo decades on a shelf. Try it →
3. Remove a crease shadow
Remove the dark crease shadow running across the photo and even out the surface.
For prints that were folded. Try it →
Clean it up
4. Denoise an old grainy scan
Remove the grain and noise from this old photo, keep the real detail.
Film grain and scanner speckle, gone. Try it →
5. Sharpen a soft photo
Sharpen and unblur this soft old photo, recover the detail naturally.
Bring back faces that went fuzzy. Try it →
6. Brighten a faded photo
Brighten this faded, low-contrast photo and recover natural color and depth.
Undo the wash-out of age. Try it →
Bring back the color
7. Colorize a black-and-white photo
Colorize this black-and-white photo with natural, believable tones.
The moment that makes people gasp. Try it →
8. Colorize a portrait
Colorize this old portrait, natural skin tones, keep it realistic, not painted.
Grandparents, suddenly present. Try it →
Make it usable
9. Upscale a small old scan
Upscale this small, low-resolution scan to high resolution with crisp detail.
For prints, frames and sharing. Try HD Enhance →
10. Full restore in one pass
Repair the damage, remove noise, and sharpen this old photo, keep it natural.
When the photo needs a bit of everything. Try it →
11. Restore, then colorize
Repair scratches and fading first, then colorize with natural tones.
The classic old-family-photo revival. Try it →
12. Restore for a large print
Restore and upscale this old photo to high resolution, clean and print-ready.
Turn a shoebox photo into a framed one. Try it →
Work from the most damaged photo you have back to the ones that just need color. The information usually isn’t gone, only faded — and getting it back is now a sentence and a tap.
Frequently asked
- What order should I run these in on a damaged photo?
- Repair first, then clean, then color, then enlarge: fix scratches and damage, remove noise, colorize if it's black-and-white, and upscale last for printing. Repairing first gives every later step clean detail to work from.
- Are colorized tones accurate?
- They're an informed guess. Skin, skies and greenery come back convincingly; specific clothing or object colors are plausible rather than certain. Faces and outdoor scenes are where colorization is most trustworthy.
- Can it handle a soft, low-quality scan?
- Yes, and the cleaner the scan the better. If it's small or soft, denoise and repair first, then upscale, so the final image holds up when you print or frame it.
Try these on your own photo
Editable is free to start — just type what you want and the edit takes seconds.
Get Editable on the App Store