How to Restore Old Family Photos (Scratches, Fading, Black & White)
The shoebox photos are aging faster than you think. Here's how to digitize, repair, colorize and enhance old family photographs at home — and which order to do it in.
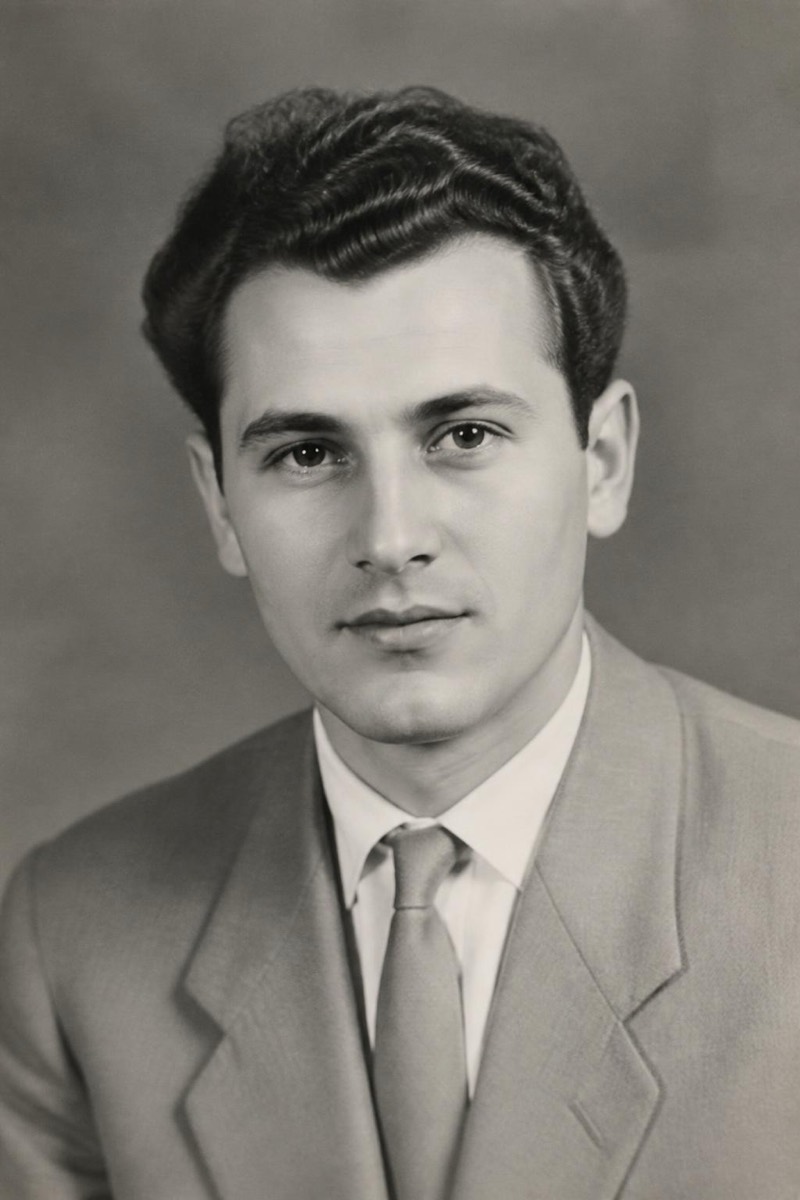
Every family has the box: photographs of people who matter, kept in conditions that would horrify an archivist. Creases from wallets. Scratches from decades of shuffling. Color that’s drifted to orange, or no color at all — faces from the 40s waiting in silver and grey.
These photos are usually single copies. When they fade past reading, that’s the end of them. The good news: rescuing them no longer requires a restoration service and a three-week wait — a careful phone photo and a few AI passes recover more than most people believe possible.
Step 1: digitize like it matters
The restoration can only be as good as the capture:
- Lay the photo flat under soft, indirect daylight — near a window, never direct sun, never flash (it mirrors off the print’s surface).
- Shoot from directly above, phone parallel to the print, filling the frame.
- Include the whole photo, damaged edges and all — AI repairs need the context.
- Save this scan somewhere safe before editing anything. It’s the master.
Step 2: repair the damage
In Editable, start with Remove Scratches — it repairs tears, creases, spots and surface damage while treating the underlying image as untouchable. Faces aren’t beautified; the era’s grain stays. A fold through a sky or a crack across a cheek rebuilds cleanly because the AI reads what surrounds the damage.
If the photo is grainy or speckled beyond its damage, a pass of Denoise after the repair cleans the static without waxing over the period texture.
Step 3: bring back the color — or add it for the first time
Two different jobs:
- Faded color photos (the orange-drifted 70s and 80s): Fix Lighting and gentle correction recover the original palette that’s still hiding in the print.
- Black and white originals: Colorize infers believable, period-appropriate color — skin that looks alive, fabrics with plausible dyes, restrained saturation that avoids the hand-tinted-postcard look. Seeing a great-grandparent in color for the first time is reliably the moment this hobby turns into a project.
Step 4: enhance for printing
Old prints are small; modern frames are not. HD Enhance rebuilds the image at crisp resolution — recovering hair detail, fabric weave and background text — so a wallet-sized original can hang at A4 without turning to mush. Do this last: enhancement amplifies whatever it’s given, so feed it the repaired, corrected version.
The order, summarized
Scan → Repair → (Denoise) → Color → Enhance. Each step feeds the next; running them backwards amplifies damage instead of fixing it.
One more thing: restored photos are gifts of unreasonable power. A repaired, colorized print of a wedding photo from 1962, framed — no gadget under the tree competes with that. Plan one relative ahead.
Frequently asked
- Will restoration change what my relatives looked like?
- Good restoration repairs damage — scratches, tears, fading — without touching faces or features. The goal is the photo as it looked the day it was printed, not an improved version of your grandmother. If a tool beautifies or modernizes faces, it's the wrong tool for this job.
- Are colorized photos historically accurate?
- The colors are plausible inferences, not records — the AI knows skin, sky and common fabrics, but it can't know that a dress was actually blue. Families often know though: colorize, then let the eldest relative correct it. That conversation is half the value.
- Should I edit the original scan or a copy?
- Always keep the raw scan untouched and restore a copy. The scan is your new negative — every future tool (and they keep improving) will want to start from it.
- What's the best way to digitize without a scanner?
- Phone camera, straight above the photo, soft indirect daylight, no flash. Fill the frame, hold steady, avoid your own shadow. A phone photo of a print, taken carefully, is more than good enough for AI restoration.
Try it on your own photo
Editable is free to start — edits take seconds, no editing skills needed.
Get Editable on the App Store