How to Remove or Change the Background of a Photo
Cut a subject out cleanly, drop in a white studio backdrop, or swap the whole scene. Here's how AI background removal actually works and how to get edges that don't look pasted.
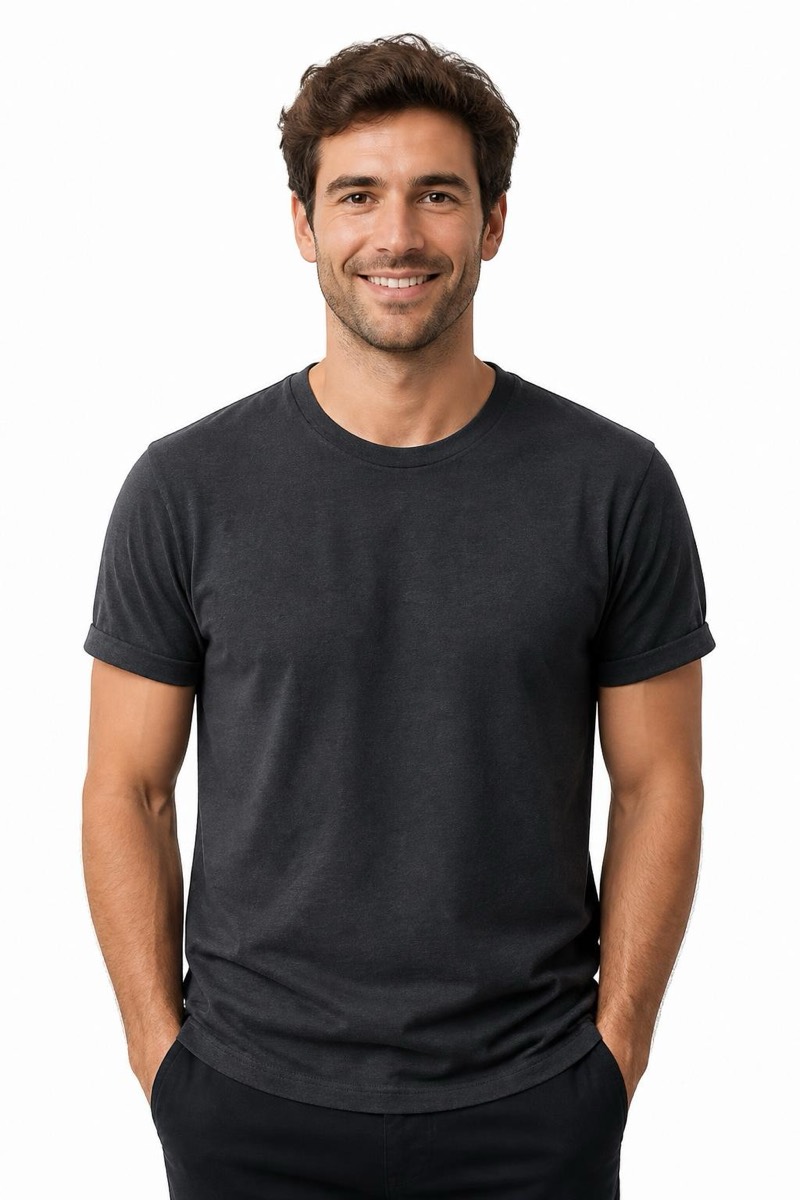
The background is where good photos go to die. A genuinely great portrait, ruined by a cluttered room behind it. A product you want to sell, floating in front of a messy kitchen counter. A profile picture that would be perfect if the scene behind you weren’t a parking lot. The subject is fine. It’s everything around it that’s the problem.
Separating a subject from its background used to be fiddly, manual work. Now it’s a tap, and the hard part (the edges) is exactly what AI does best.
Three different jobs, one starting move
“Change the background” actually covers three things, and they all begin the same way, by isolating the subject cleanly:
- Remove it to a plain colour. White or neutral grey, for profiles, listings and ID photos.
- Replace it with a real scene. A city, nature, an office, so the photo tells a different story.
- Just calm it down. Keep the setting but blur it, so the subject pops without a hard cut-out.
Get the cut-out right and all three become easy.
Why the built-in tools fall short
iOS can lift a subject from a photo (long-press and drag), which is handy for stickers but gives you a hard-edged cut-out with no control over the new background. Manual tools in other apps make you trace an outline, and the outline is always the problem: hair, fur, glasses and soft edges get chopped into a jagged, pasted-on shape. The give-away of a bad background swap is never the background. It’s the edge.
How AI background removal actually works
Instead of tracing a line, an AI segments the image: it recognizes the person, the pet or the product as an object and understands where it ends, down to individual strands of hair. That’s why the cut-out keeps flyaways and soft edges intact. When you drop in a new scene, a good tool also nudges the lighting at the edges to match, so the subject sits in the background rather than on top of it.
To do it in Editable:
- Get the app (free to start) and open the Explore tab.
- For a clean lift, use Remove background, then choose a backdrop: white or studio grey for a professional look, office for work headshots, or city and nature for a scene.
- Prefer to keep the place you’re in? Use Blur background for that portrait-mode depth instead of a full swap.
Setting honest expectations
- Clear subject, simple edges: excellent. A person or product against any background lifts cleanly every time.
- Fine hair, fur, transparency: very good. Modern segmentation handles flyaways and glasses far better than the wand ever did; glass and smoke are the hardest cases.
- Scene replacement: match the light. A believable swap depends on picking a background lit from the same side as your subject. Mismatched light is what still reads as fake.
The one thing to check
Before you save a scene swap, look at the edge where the subject meets the new background, especially around the hair and shoulders. If it’s clean and the light direction agrees, you’re done. A white or grey studio backdrop is the safest choice of all: no lighting to match, and it makes almost any photo look intentional.
Frequently asked
- How do I remove a background without jagged, cut-out edges?
- The old 'magic wand' approach traced a hard outline, which is why hair and soft edges looked cut with scissors. AI segmentation understands what a subject is, so it keeps flyaway hair, glasses and soft edges intact. The result reads as a real photo on a new background, not a sticker.
- Can I put myself on a plain white or grey studio background?
- Yes, and it's one of the most useful cases: a clean white or neutral-grey backdrop instantly turns a phone selfie into something that works for a profile, a store listing or an ID photo.
- Can I replace the background with a real place instead of a solid colour?
- You can. Swapping in a new scene (a city street, nature, an office) also relights the subject's edges to match, which is what keeps it from looking like a bad collage. Choose a background whose light direction roughly matches your photo for the most believable result.
- Does removing the background lower the quality of the subject?
- No. The subject's pixels are untouched; only what's behind them changes. If anything, a cleaner background makes the subject look sharper because there's nothing competing with it.
Try it on your own photo
Editable is free to start — edits take seconds, no editing skills needed.
Get Editable on the App Store