How to Whiten Teeth in a Photo (So It Still Looks Real)
Yellow or dull teeth can pull focus in an otherwise great smile. Here's how AI whitens teeth in a photo naturally, and how to avoid the fake, glowing-white look.
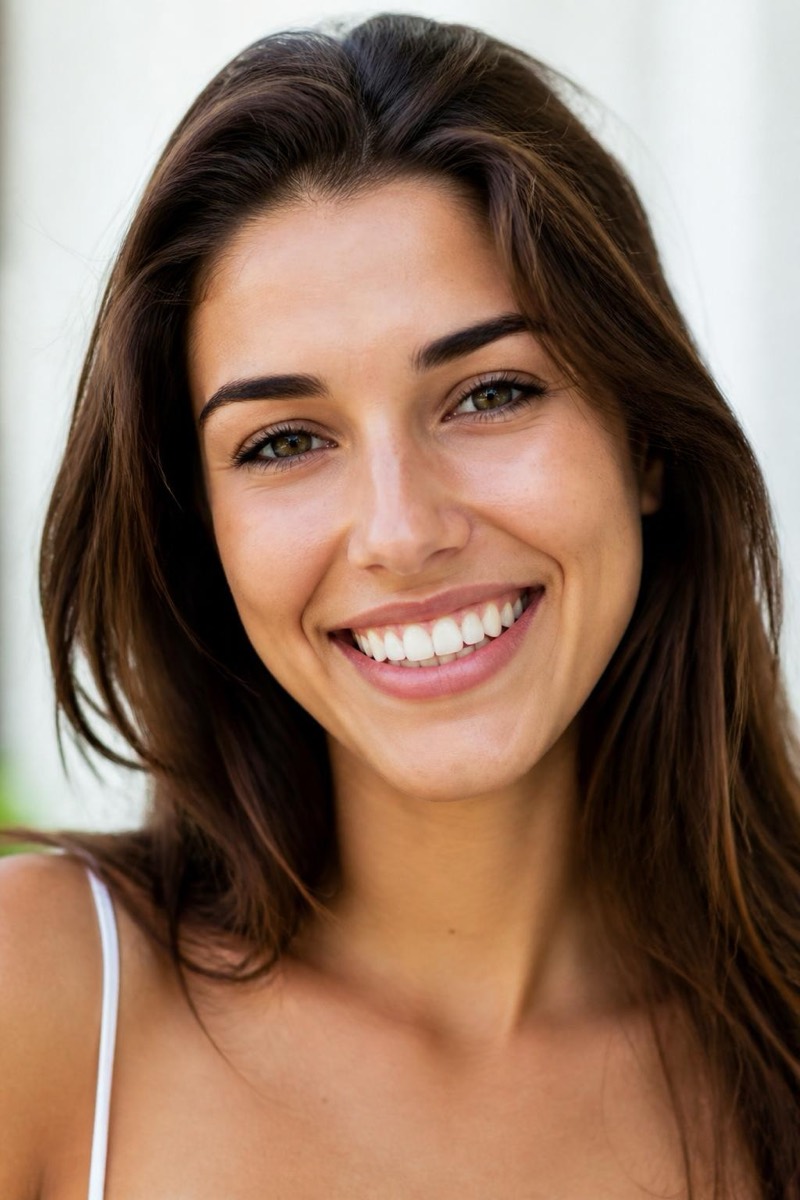
A smile is usually the best thing in a portrait, right up until you notice the teeth. Indoor light goes yellow, a camera flattens everything, and a genuinely happy grin ends up looking a little dull or stained. It’s a small thing that the eye lands on immediately, and it can quietly hold back a photo you otherwise love.
Whitening teeth is one of the safest, most flattering edits there is, as long as it’s done with restraint.
Why teeth photograph worse than they look
Two things work against you. Warm indoor lighting casts yellow on everything, teeth included, and a camera’s compression flattens the bright, slightly translucent quality of real enamel into a duller, more uniform tone. So teeth that look fine in the mirror can look dingy in a photo. You’re usually not fixing your teeth, you’re undoing what the light and the camera did to them.
Why sliders and brushes fall short
The Photos app has no teeth tool. Whole-image brightness or “definition” lifts the teeth a little, but it lifts the entire face with them and washes the photo out. Manual whitening brushes in other apps ask you to paint over each tooth by hand, and it’s fiddly to stay off the gums and lips, one slip and you get a bright smear across the mouth. Neither approach understands what a tooth is.
How AI teeth whitening actually works
The model recognizes the teeth specifically, separate from lips, gums and skin, and brightens just that region while removing the yellow cast. Because it understands the shape of a smile, it keeps the natural variation between teeth and the soft shading near the edges, so the result looks like healthy enamel rather than a flat white block painted over the mouth.
To do it in Editable:
- Get the app (free to start) and open the Explore tab.
- Find Whiten teeth under Face Retouch and tap Try.
- Pick the photo. The teeth brighten to a natural shade in seconds, gums and lips untouched.
For a fuller refresh, pair it with Glow for even skin, so the whole face looks fresh rather than just the smile.
Setting honest expectations
- Dull or mildly yellow teeth, clear smile: excellent. They come back bright and believable.
- Strong staining: very good. A big improvement; extreme cases may look best kept a touch shy of pure white.
- Tiny or side-angle teeth: modest. Less detail to work with, so keep the effect where the smile is front and center.
The one rule
Compare the teeth to the whites of the eyes. Real teeth are never brighter than the eyes; if yours end up glowing, dial it back until they sit just a shade below. Get that right and nobody sees an edit, they just see a good smile.
Frequently asked
- How do I whiten teeth without that fake, glowing-white look?
- The fake look comes from pushing to pure white and losing the natural variation between teeth. A good result brightens toward a believable off-white, keeps the subtle differences from tooth to tooth, and doesn't spill onto the lips or gums. If the teeth glow brighter than the eyes, it's too much.
- Will it whiten the gums and lips by accident?
- A tool built for this targets only the teeth, so gums, lips and skin stay their natural color. That precision is exactly what a manual brush or a whole-photo brightness slider can't manage.
- My teeth are more yellow than dull. Can it still help?
- Yes. Whitening both lifts brightness and reduces the yellow cast, so noticeably yellow teeth come back looking clean and healthy. Keep it tasteful and it reads as good teeth, not bleached ones.
- Can I whiten teeth in a group photo?
- You can, though results are best on clear, front-facing smiles. Tiny or side-angle teeth in the background have less detail to work with, so focus the effect where the smile is the point.
Try it on your own photo
Editable is free to start — edits take seconds, no editing skills needed.
Get Editable on the App Store